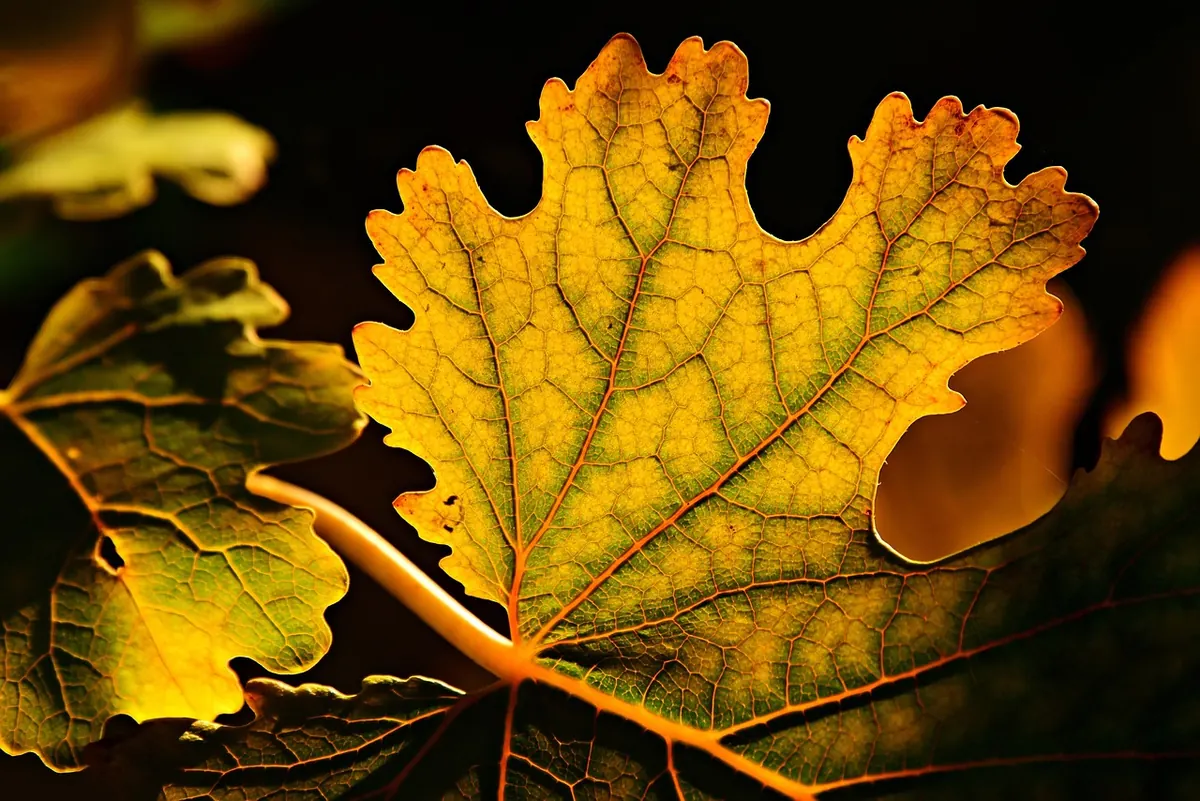
The first time most people try to draw a leaf, the pencil takes charge. They start at the tip, the outline drifts sideways, and by the time they reach the stem the whole thing has gone wrong. The problem is rarely the pencil. It is that we tend to look at a leaf for about four seconds and then draw it for twenty minutes.
Botanical studies reward the opposite order. Look for twenty minutes, then draw for four. Everything in this guide is built around that idea: observation first, mark-making second. Get the looking right and the drawing becomes a series of small, manageable decisions instead of one long guess.
Pick up a single leaf. Not a handful, not a twig — one leaf, fallen and dry enough to handle. Sit somewhere with decent light and turn it over a few times. Hold it up against the window. Run a fingertip along the edge and down the stem.
Now describe it out loud in three sentences before you touch your sketchbook. Is it longer than your hand or smaller than your thumb? Does the widest point sit near the middle, near the base, or toward the tip? Are the edges smooth, or do they catch your skin? Does the stem feel round or flattened, and is there a groove on the upper side?
Those sentences are the study. The drawing is a record of them. Write them down with the date and where you found the leaf, because in a month you will not remember which park bench it came from, and the note is what turns a nice sketch into a useful one.
Draw what the leaf in front of you is doing, not what you remember a leaf looking like.
This work does not need much, and buying more materials will not make the looking better. A modest kit that lives in a coat pocket gets used far more often than a beautiful one that stays on a shelf.
A flat, steady surface and side light from a window are worth more than any tool. Light raking across the leaf shows the veins sitting slightly proud of the surface, which is exactly the information you need next.
Measure the leaf before you draw it: length against width, using the pencil as a gauge and marking the proportions on the page. Build a rectangle to those proportions, then find the widest point and mark it on the long axis. A beech leaf is widest around the middle; a heart-shaped lime leaf is widest near the base; a willow leaf is widest below the midpoint and tapers over a long distance.
Join your axis and width marks with a few straight chords before you allow any curve. Chords are easy to check and easy to correct. Curves drawn too early are neither. Only when the envelope looks right should you soften those chords into the actual outline.
Margins are where beginners rush and studies fall apart. Learn a handful of words and the leaf stops being a vague green shape. An entire margin is smooth all the way round, as in dogwood or magnolia. A serrate margin has teeth angled forward, like birch and elm; dentate teeth point outward. Lobed margins, as in oak, cut deeply into the blade; sinuate edges wave gently without real teeth.
Do not draw every tooth. Nobody wants to count them, and a row of fussy identical triangles looks mechanical. Instead, draw a short run of teeth at the correct spacing and pitch, then let the rhythm carry around the rest of the leaf with a lighter, faster line. The same goes for the tip: describe it — pointed, rounded, abruptly narrowed, notched — rather than perfecting it.
Hold the leaf to the light and the architecture appears. A single midrib runs from base to tip, with secondary veins branching off it. In pinnate leaves — beech, ash, apple — those secondaries march along the midrib from base to apex. In palmate leaves, such as maple and sycamore, several main veins radiate from one point at the base. Grasses and many monocots run their veins in parallel.
Draw the sequence in order, not all at once. Midrib first, with a slight even curve. Then the secondaries: note whether they sit opposite each other or alternate, the angle they leave the midrib, and how they bend as they approach the margin. Many leaves loop their veins together just inside the edge rather than ending in the teeth, and that looping line is one of the most recognisable features of a species.
Complete three or four secondaries on each side; suggest the rest with fainter lines. Thin, tapering strokes read as veins. Uniform dark lines read as cracks. Draw each from its origin outward, lifting the pencil as it fades.
Most of the identifying information sits at the join. Look closely at the stalk, the petiole. Is it long and slender, as in aspen, or almost absent, so the blade sits against the twig — sessile, as in many willows? Is there a swelling at either end? Are there small leafy flaps, the stipules, at the base? Does the petiole have a groove on top?
Then step back to the twig and establish the arrangement. Leaves alternate along the stem, sit opposite each other in pairs, or whorl in rings of three or more. Buds nestle in the angle where the petiole meets the stem; these axillary buds are a reliable way to tell a whole leaf from a single leaflet on a compound leaf, since leaflets have no buds of their own. If you are unsure, draw a short section of twig at the corner of the page — it will answer the question later.
With observation done, the finished study is mostly assembly. Work on a fresh page and keep the field notes beside you.
Resist the urge to shade heavily for realism. A botanical study is a diagram of decisions, and clear lines carry that job better than tone. If you want colour, keep it as a small patch at the side rather than a full wash over the drawing.
Fifteen minutes is enough. Choose one leaf a day for two weeks, and try the same species three days running — the first attempt is a survey, the second corrects the shape, and the third is where the details finally arrive. Keep the pressed leaves in an envelope with your notes; in winter, a flat oak leaf and its sketch are better reference than any photograph.
Be sensible about collecting. Fallen leaves are free and plentiful; pick from living plants sparingly and never in protected areas or private gardens without permission. Take one leaf where ten would do, and leave the rest for the tree, the insects, and the next person walking past with a sketchbook.
Photo: MabelAmber / Pixabay

A practical guide to sketching Mediterranean woodland edges in late summer, from reading the layered structure of...
Twenty specific sketching prompts for the woods the day after rain — wet bark, beaded droplets, puddle mirrors,...

A practical guide to drawing convincing tree silhouettes by reading outlines as single shapes, using sky holes as...

Sketches and inspiration from the forest.
