A botanical sketch can be accurate in every measurement and still feel dead on the page. The leaf is the right length, the stem is the right thickness, yet the drawing looks pressed flat, as if it has spent a week inside a field guide. Most of the time the problem is not talent. It is a handful of small habits that creep in when you focus on details before structure, or when you copy the outline of a plant without noticing how it occupies space.
Good botanical drawing is a conversation between observation and correction. You look, you make a mark, you notice what the mark gets wrong, and you adjust. The fixes below are simple enough to use in the field, at the kitchen table, or halfway through a drawing that has started to go stiff.
The most common mistake in leaf sketches is treating the leaf as a flat silhouette. You draw the outline, add a midrib, and fill in veins as if the leaf were pressed under glass. The result may be tidy, but it has no weight, no tilt, and no answer to the question every leaf asks: which way is it facing?
A leaf is a surface with a slight curve, a fold, or a twist. Even a simple almond-shaped leaf usually has a gentle cup along the midrib and a tip that turns away from the stem. When you ignore that movement, the leaf looks pasted onto the page.
Before drawing the outline, draw the midrib as a curve that travels through space. Then add two or three light cross-contours, like the ribs of a shallow boat, to show how the surface bends. Keep them faint; they are scaffolding, not final lines. If the leaf twists, look for the place where the top surface disappears and the underside begins. That edge is often a soft curve, not a sharp cut. Draw that transition first, and the leaf will start to sit in space.
Another useful habit is to turn the specimen in your hand before you commit to a view. Choose an angle with a clear overlap or a visible fold. A leaf seen perfectly edge-on tells you little. A leaf with one side curling toward you gives you information you can draw.
Many sketches begin well and then slowly lose their proportions. The stem becomes too short, the leaf too wide, the flower head too small. This usually happens because the drawing is built from separate parts rather than from the whole. Each part looks reasonable on its own, but the relationships between them are off.
Before adding detail, establish an envelope: a light rectangle or oval that contains the entire plant or the main cluster. Mark the extreme points — top, bottom, left, right — and check the ratio of height to width. Then place the major landmarks inside that envelope: where the stem forks, where the largest leaf attaches, where the flower head sits. Compare angles by holding your pencil at arm’s length and tilting it to match the stem or leaf axis. You are not measuring in millimetres; you are checking relationships.
This is especially important with compound leaves and flower clusters. Draw the overall rhythm first: the length of the rachis, the spacing of the leaflets, the way the cluster leans. Only then refine individual shapes.
Veins often become dark, uniform lines that sit on top of the leaf like a circuit diagram. The problem is not that veins are drawn, but that they are drawn without hierarchy. A midrib is not the same as a secondary vein, and a secondary vein is not the same as the fine network that gives a leaf its texture.
Start with the midrib, which is usually the thickest and most structural line. Let secondary veins leave the midrib at a consistent angle for the species you are drawing, and taper them as they approach the edge. They should feel like channels or ridges, not wires laid on a flat surface. Tertiary veins can be suggested with broken, very light lines rather than drawn one by one. Too many equal veins make the leaf look mechanical.
Also watch how veins behave where the leaf curves. On a folded leaf, the veins on the far side compress and become closer together; on the near side, they open up. If every vein is spaced evenly, the leaf flattens again. Draw the vein pattern as if it is wrapped around a surface, because it is.
A leaf that does not attach convincingly will look like it is hovering near the stem rather than growing from it. This happens when the petiole is drawn as a line that simply stops at the stem, without a node, a slight swelling, or a change in direction.
Look closely at the join. The petiole often leaves the stem at an angle, and the stem itself may have a subtle ridge or a change in tone at the node. Draw the stem as a cylinder first, with a light contour line on one side, and then set the petiole into that cylinder. A tiny shadow where the petiole meets the stem can do more for the drawing than a dozen extra leaf veins.
The same applies to flower stalks and tendrils. Ask yourself where the part would cast a shadow on the stem, and where the stem would cast a shadow on the part. These small overlaps create depth. If your sketch still looks flat, check the attachments before you change the leaf shape.
Another frequent problem is the uniform outline. Every edge is drawn with the same pressure and the same smoothness, so a hairy leaf looks like a plastic one. Botanical subjects have varied edges: some are smooth, some serrated, some slightly bruised, some curling under. Let the line change. Slow down at a serration, lift the pencil at a soft edge, and allow a few small breaks where the silhouette turns away from you.
Texture is often overworked in the opposite direction. Shading is added everywhere, and the leaf becomes muddy. Instead, choose one or two places where texture matters — a ridge along the midrib, a slight sheen near the tip, a dry edge — and leave the rest quiet. A light cast shadow beneath the leaf will do more to lift it off the page than heavy shading across the whole surface.
Before you call a sketch finished, give it a short correction pass. Check the silhouette first: does the plant sit in space, or does it look pressed? Next, check proportions by comparing the height and width of the main mass. Then look at the veins: are they varied, tapered, and wrapped around the form? Finally, check the attachments and edges. If something feels wrong, fix the largest structure first. Erasing a misplaced leaf is faster than trying to rescue it with detail.
Keep a scrap page beside your sketchbook for quick trials of a leaf turn, a node, or a vein pattern. A few minutes of deliberate practice on the problem areas will improve the next drawing more than another full page of the same mistake.
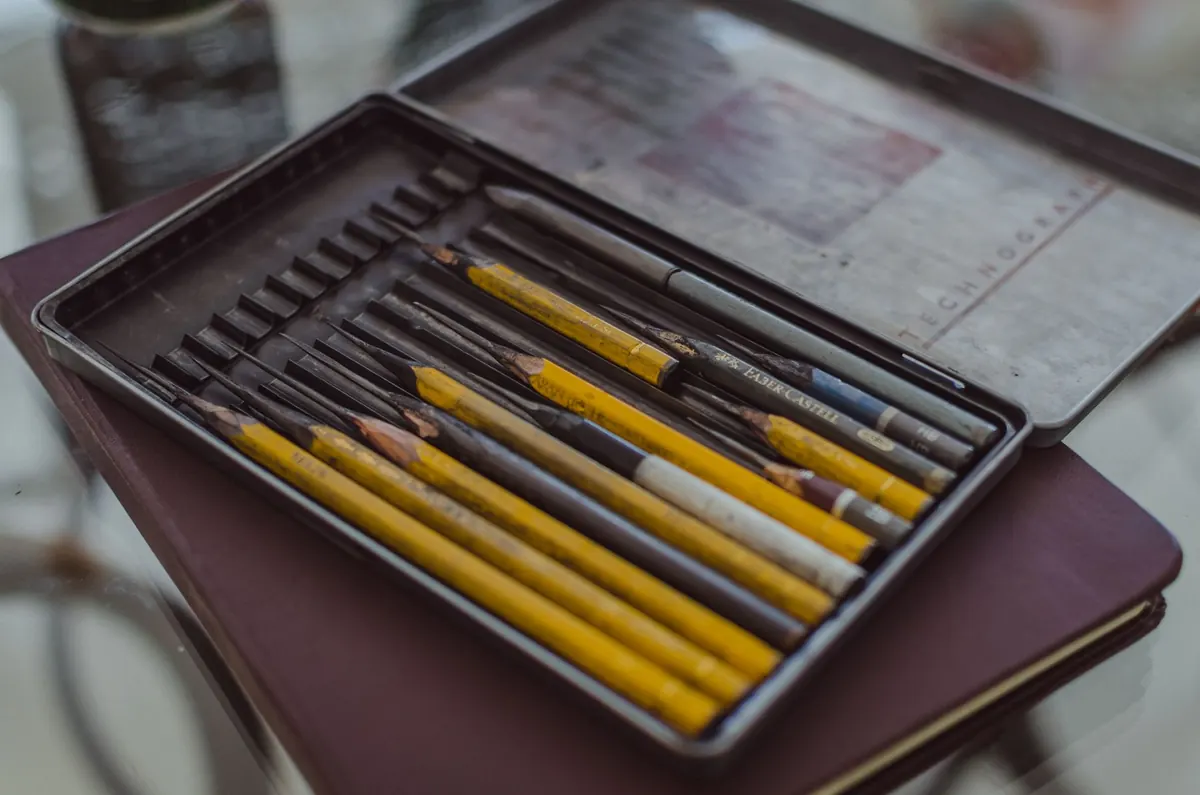
Photo: MESSALA CIULLA / Pexels

A practical guide to sketching Mediterranean woodland edges in late summer, from reading the layered structure of...
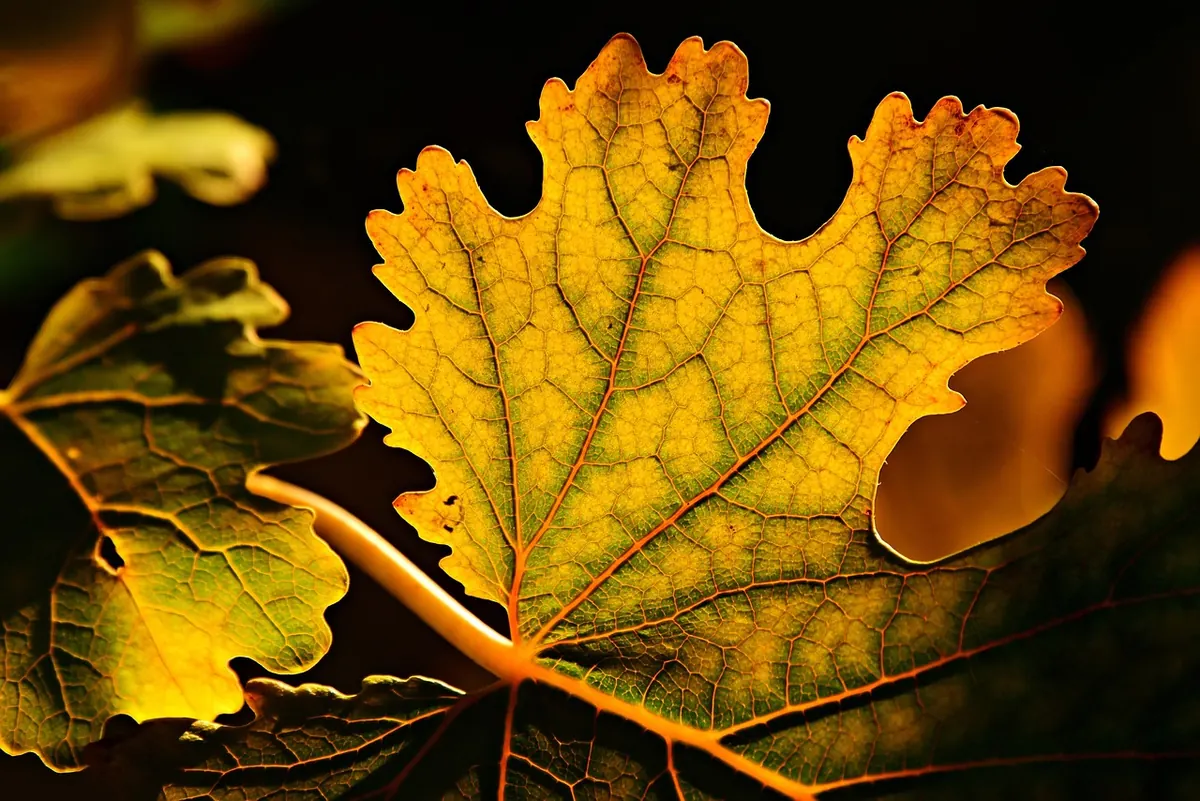
A practical guide to reading a leaf’s shape, margin, veins and attachment before you draw, with a clear step-by-step...

Twenty specific sketching prompts for the woods the day after rain — wet bark, beaded droplets, puddle mirrors,...

Sketches and inspiration from the forest.